- 018-2034318
- realsolutionswaterproof@gmail.com
- Mon - Fri: 8:30AM - 7:00PM


Leaks are one of the most common roofing problems. A small leak might look harmless at first, but it can quickly lead to damp ceilings, mould or damaged insulation. If your roof is made of concrete tiles, there’s good news as it’s often possible to repair the leak without replacing the entire roof.
Concrete tile roofs are strong and built to last but they still need care. When cracks appear or tiles move out of place, water finds its way through. If caught early, you can fix many of these problems without major cost.
This guide walks you through how to spot a leak, what tools you’ll need and how to carry out a basic concrete tile roof repair safely.
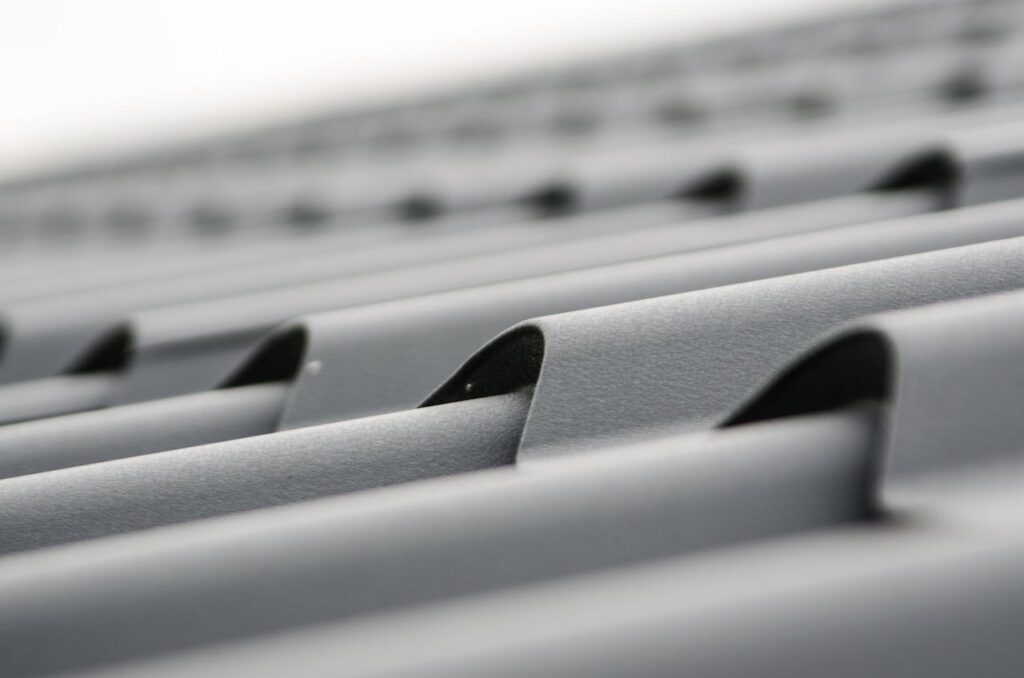
Concrete tile roofs are popular because they are tough and long-lasting. But they can still get damaged. Here’s why they might start to leak:
Tiles can crack with age, heavy foot traffic, falling branches or even sudden weather changes. A small crack can let rainwater through to the underlay and then into your ceiling.
Over time, tiles can shift from their original position. This is often caused by high winds, vibration or poor installation. A tile out of place leaves gaps for water to enter.
The cement bedding that holds tiles in place can break down. If the bedding weakens, the tiles may shift or fall by creating space for water.
Beneath the tiles, there’s a waterproof layer called underlay or sarking. If this gets torn or worn, water can get into your roof space.
If water cannot drain off the roof properly, it may collect in spots and eventually seep through the roof structure.
You might not always see water dripping from the ceiling. Often, roof leaks start small and show subtle signs. Watch for:
Water can also travel along roof timbers, so the source of the leak might not be directly above the damp spot.
Repairing a concrete tile roof involves climbing, lifting tiles, and sometimes working on steep slopes. Before starting:
If you are unsure or the roof is steep, call a professional.
Here’s a simple list of tools and materials for a small concrete tile roof repair:
Once you’re ready, follow these steps to fix the leak.
Start from inside the house. Look in the loft for wet patches, stains or daylight coming through the roof. Once you’ve marked the area then go outside and find the tiles above the problem.
Use binoculars if needed. Look for broken tiles, slipped sections or moss build-up. Often, leaks happen in valleys or edges where tiles meet flashing.
Lift the tile directly above the broken one by sliding a flat bar under its lower edge. Lift the tile carefully then slide out the broken one. Go slow so you don’t crack the tiles around it.
If the tile won’t move, gently move it side to side until it comes loose. Don’t use too much force as concrete tiles can break easily.
After removing the tile, check the underlay or sarking. If it’s wet, torn, or worn out, you’ll need to fix it. Cut a piece of waterproof sheet and slide it under the old one. Make sure it covers beyond the damaged area.
If large areas of the underlay are damaged then it’s best to get help. You may need to lift multiple tiles and redo the layer underneath.
Once the underlay is fixed then it’s time to put the new tile in. Slide it into place which making sure it aligns with the other tiles. Some systems use clips while others rely on bedding mortar or gravity.
If the bedding has broken then mix a small amount of mortar and use it to reseat the tile. Allow it to dry before exposing the area to rain.
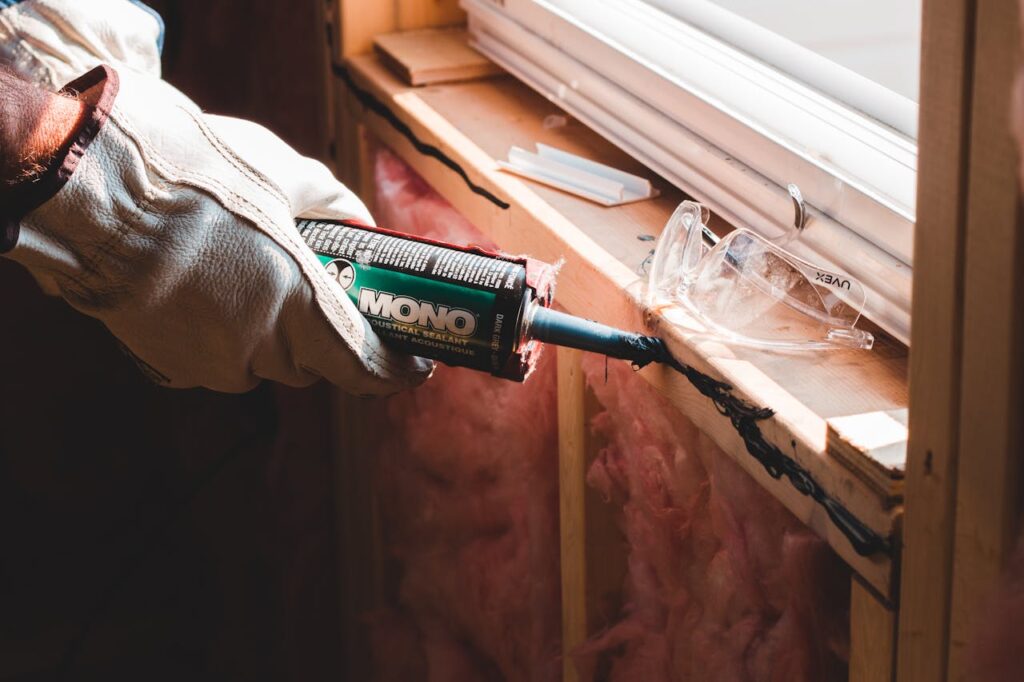
If the tile has a small crack and you don’t have a spare, put a little roofing sealant over the crack. This can stop water for now, but it’s best to replace the tile soon to prevent bigger problems.
While you’re up there, remove any moss, leaves or dirt. Blocked valleys can stop water from draining. Pay close attention to the lower part of the roof and around flashing.
Also, check the nearby tiles for signs of wear. One broken tile often means others are not far behind.
After you’ve finished the job, check the area during the next few days of rain. Look inside the loft and keep an eye on the ceiling below. If the leak comes back then the problem might be further up or spread across more tiles.
Concrete tiles last decades but they still need basic care. These simple habits can help you to avoid more leaks in the future:
If you spot signs of sagging or large gaps then get the roof looked at right away.
You don’t always need to fix things yourself. Call a professional roofer if:
A roofer can also check the full roof for hidden damage and suggest if a full concrete tile roof repair or replacement is needed.
Fixing a leaking concrete tile roof can be simple if you catch the problem early. A single cracked tile, if left alone then can lead to bigger issues inside your home. By checking your roof regularly and following safe steps, you can make small repairs yourself and keep your roof strong for years.
Every roof is different so take your time, plan ahead and always put safety first. Whether you’re replacing a tile or clearing a blocked valley, regular care helps avoid costly damage down the line.
If the problem seems too big, or if you’re not confident working at height, it’s always best to get expert help. A well-done repair will give you peace of mind and a dry ceiling.
At Real Solutions Waterproofing, you get expert roofing and waterproofing services designed to protect your home from leaks, moisture and long-term damage. Our team delivers real results with lasting quality.